Category Archives: natural body care

DIY Tea-Tree Oil Acne Treatment

IMG_8343

I have a tendency to get break-outs on my jaw. (Probably because I always rest my chin on my hand.) Commercial acne creams get rid of the pimples, but leave my skin raw and red. So I went looking for a simpler, more natural solution.

Tea Tree Oil is naturally anti-bacterial as well as anti-fungal. On it’s own, tea tree oil is too potent to be applied directly to skin. So, dilute it in distilled water and you’ve got a simple, natural acne treatment. It doesn’t work as quickly as commercial products do, but studies have found that when it’s used consistently over time, it is just as effective as products like benzoyl peroxide.

When I started experimenting with natural treatments, I knew I wanted more than just tea tree oil and water. Mainly because I don’t like the smell of tea tree oil. It’s like a pine tree and a eucalyptus plant had a nose assaulting demon baby. Diluted in water, the small is not too strong and is much more bearable. But it’s still that smell. So I added lavender oil to my toner. It tempers the smell of the tea tree oil, and lavender oil is also a natural anti-bacterial agent. Together, they actually smell quite nice.

Ingredients:
Distilled Water
Tea Tree Oil
Lavender Oil
A clean, sterile container
Vegetable glycerin (optional)

Directions:
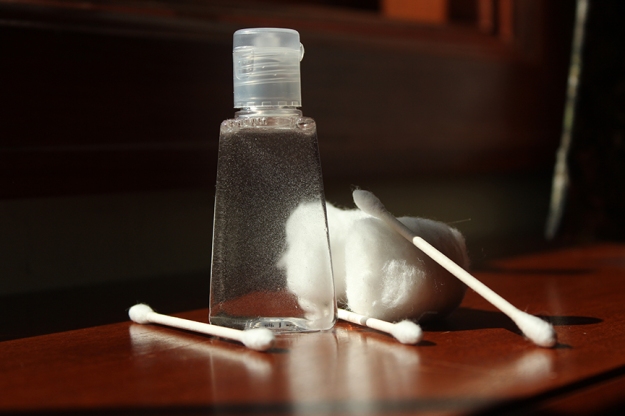
For every 1 oz of distilled water used, add 10 drops of tea tree oil and 5 drops of lavender oil. To help the oil and water bond, and to add moisturizing properties to the toner, you can add 3-5 drops of vegetable glycerin. Store the toner in a small, clean container. For mine, I used an empty purse-sized hand sanitizer bottle. I recommend making this toner in smaller batches – 3oz or less at a time.

IMG_8357

To Use:
Use at night only. (Tea tree oil + sunlight = red, irritated skin.) Wash your face with a gentle cleanser first. Rinse and pat dry. Shake the toner well and squirt onto a cotton ball or a q-tip. Apply directly to acne affected areas only. Do not apply to your whole face. You will feel a mild tingling, similar to applying menthol or vapor rub. (If it becomes painful or causes redness/irritation, rinse your face with soap and water to remove the oils.) With clean hands, apply a moisturizer after using the toner. Wash your face in the morning to remove the oils, and go about your morning routine as usual.

Other tips:
1. Washing your face daily (morning and night) with a mild cleanser is important for preventing acne – if you don’t remove built up dirt and germs, it gets into your pores and creates the irritation that becomes a pimple.
2. Apply a moisturizer after washing your face. It helps seal out dirt and germs, and it keeps your skin hydrated and refreshed.
3. Make sure you are drinking a lot of water! I drink 2 liters a day, and when I don’t get that, my skin really shows it.

Homemade, Natural Body Lotion

IMG_8178

In an effort to live simply and naturally, I’ve been experimenting with different natural hygiene products that I can make on my own without having to invest in special equipment or exotic ingredients that I’d never otherwise buy or use.

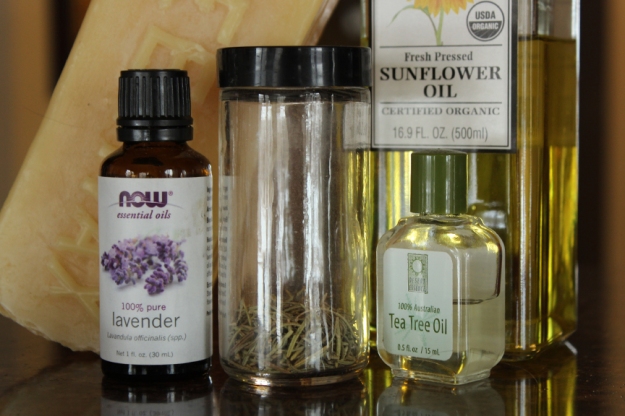
This body lotion is perfect – it’s made from three simple ingredients: an edible oil, beeswax, and water. They’re all ingredients that I can source extremely locally, and they can all be used for other products, as well. I use organic sunflower oil from a nearby company which buys all its sunflower seeds from local farmers. The beeswax comes from a neighbor who keeps bees and the water comes from our own well.

To make the lotion you’ll need:
1/2 cup oil (olive, sunflower, or another edible oil)
3 Tbsp grated beeswax
1 cup hot-warm water
*To add scent, use 5-10 drops of essential oil to the beeswax/oil mixture, or use scented waters in lieu of plain water. For my Lavender, Rosemary, Tea Tree Oil recipe, see below.

Directions:
Combine the oil and grated beeswax in a double boiler and heat until the beeswax is melted into the oil. Let cool until the beeswax/oil mixture and the water are close to the same temperature. (If one is hot and one is cold, the water will separate from the oil/beeswax mixture.) Pour the oil/beeswax mixture into a blender and turn on the blades. Slowly pour in the warm water. (You can also pour the oil/beeswax mixture directly into your storage container and mix it using an immersion blender.)

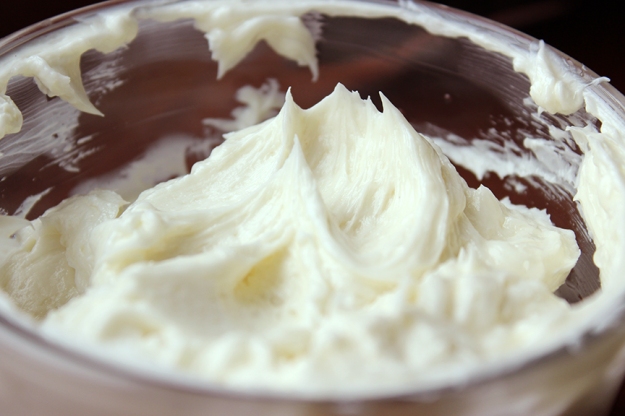
Continue to blend the mixture until the water and oil are completely mixed and the lotion has a creamy smooth consistency. If the mixture is warm enough that it’s giving off condensation, you’ll want to let it cool to room temperature and then blend it again. Not all of the water will combine. Just pour off the excess water.

IMG_8171

Because this lotion is made from natural ingredients, including oils, it doesn’t have the shelf-life of commercial lotion. I don’t have exact, irrefutable data on how long it lasts, but I have kept mine for quite a while with no issue. To be safe, I’d say that you can keep it on a shelf out of direct sunlight and away from high heat for approximately 3 months. (In my experience, if you lotion your hands/body regularly, you’ll use it up way before this deadline.) If you refrigerate your lotion, it’s safe for about 6 months.

This lotion may initially feel a bit greasy when you first apply it. I find it similar to the feeling of using shea or cocoa butter as a moisturizer. Give it a minute – it soaks into your skin, and doesn’t feel greasy at all. Instead your skin feels silky, hydrated, and soft.

To scent my lotion, I use lavender essential oil, fresh rosemary, and tea tree oil. It gives it a spicy, earthy smell that is subtle on the body, and plays well with any perfumes I might wear.

IMG_8167

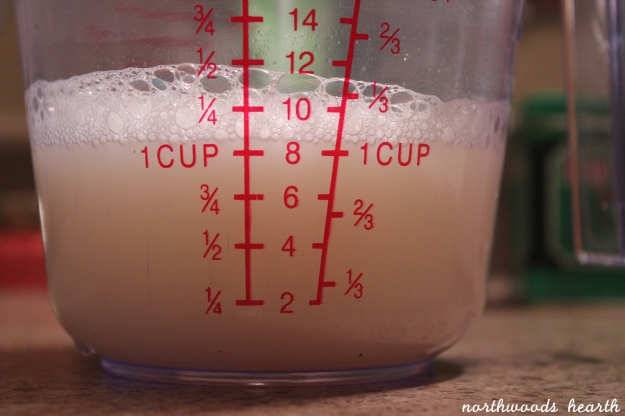
First, I bring my water to a boil in a tea kettle, and then pour 2 cups of hot water (to allow for evaporation) over three sprigs of fresh rosemary. (If you only have dried rosemary, use 1.5 Tbsp in 1.5 cups of hot water.) Let that steep until the water is no longer steaming, and then strain out the rosemary and measure 1 cup of the scented water for use in the lotion. To the melted oil/beeswax blend, I add 10 drops of lavender oil and 2 drops of tea tree oil. It may smell slightly strong when your lotion is all mixed up, but it will be very subtle on your skin. Combine the rosemary water and the scented oil/beeswax mix as directed in the original recipe.

And that’s it! I’m experimenting with a few other lotion recipes right now, and will be sure to share more in the future.

IMG_8180

Homemade Castile Shampoo

IMG_7522

I’ve managed to find natural, simple products for just about every part of my hygiene/beauty routine. But finding a natural method of keeping my hair clean and healthy has been less successful. I’ve tried all the usual “no-poo” regimens: baking soda and apple cider vinegar, conditioner only, water only, natural shampoo bars. None of them worked as well as I wanted.

The shampoo bar left a waxy buildup on my hair that could only be removed by the commercial shampoos I was trying to get away from. All the other alternatives left my scalp oily while my ends were dry and crunchy. To be fair, I have incredibly thick hair, which may have been a factor in those failings.

Begrudgingly, I went back to commercial shampoos until finally, I found it: Homemade Castile Shampoo.

Castile shampoo is easy to make (and if you know how to make your own liquid castile soap it becomes even more frugal). The castile soap cleans the dirt and grease from my hair without completely stripping it or leaving product build-up. The added oils leave my hair soft, shiny, and add extra protection from the elements. I’ve been using the castile shampoo for a month now, and it only gets better with time. For the first week or so, my hair had a strange texture that made me skeptical, but after that brief adjustment period, my hair feels great. It’s smooth, soft, silky and it has a pleasant heaviness that feels healthy rather than oily.

IMG_7519

To try it for yourself, you’ll need:

1/2 c water
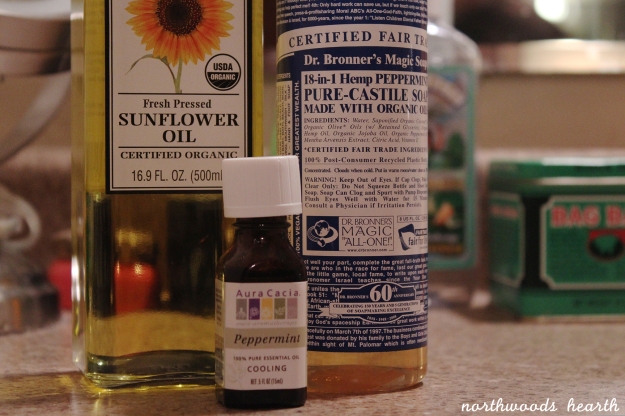
1/2 c liquid castile soap (I used Dr. Bronner’s in peppermint)
1 tsp light vegetable oil (I used sunflower oil)
A few drops of essential oils (I used 2 peppermint and 2 tea tree oil)

Combine all ingredients until mixed and pour into a container you can easily use in the shower. Bear in mind that the final product is much thinner than commercial shampoo, so a squirt bottle is easiest. Also note – if you have very thick hair that tends to be oily at the roots but dry at the ends, go ahead and double up on the vegetable oil. It seems counterintuitive to add more oil to oily hair, but trust me, it works. Your hair may need an adjustment period of 1-2 weeks before you see the benefits, but it is really worth it.

To use the shampoo, shake well first. Stand away from the spray of the shower head and apply a small amount to the scalp and massage into the roots of your hair. Rinse immediately. Your hair may not “feel” clean, at least not as it does with commercial shampoos. This is because the castile shampoo doesn’t strip the natural oils from your hair like commerical shampoo does, which is a good thing.

Your hair will look and feel clean when it dries, and it will be much stronger and healthier for having its natural oils still there as protection. You do not need to condition with the castile shampoo, but I still add a little bit of raw sunflower oil to the ends of my hair after I get out of the shower and comb my hair. It keeps my ends from drying out, especially in the winter.

IMG_7547

So there it is – a chemical free, easy to use, easy to make, natural shampoo that actually works! My next step is to make my own liquid castile soap from scratch (keep an eye out for the upcoming tutorial!). I think I’ll also add a little rosemary essential oil to the shampoo for scent and scalp health.